How to Safely Flatten a Severely Warped Dual-Layer Player Board
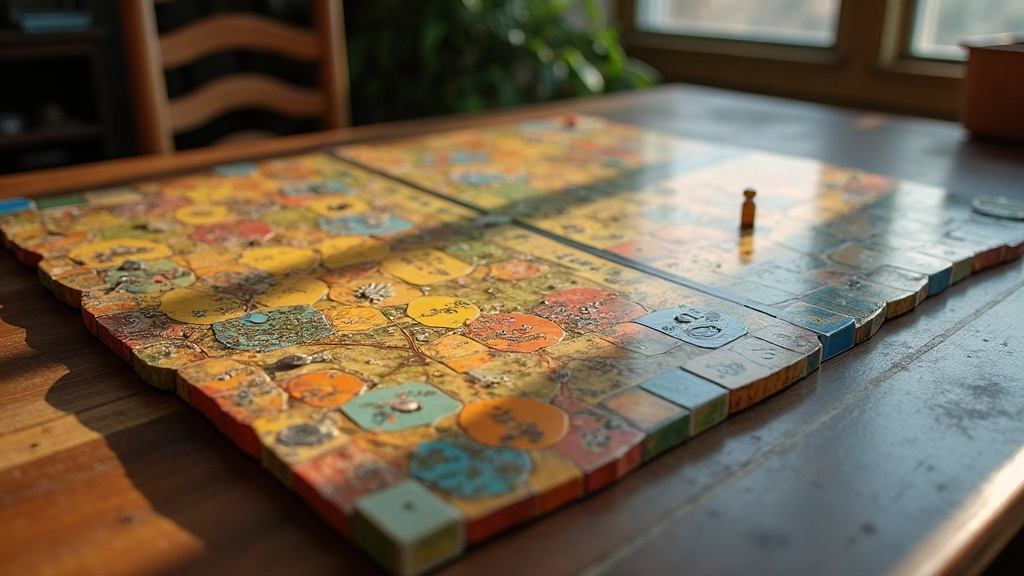
If you’ve just popped the trunk and found your favorite dual-layer player board looking like a potato chip after a few hours baking in a hot car, take a breath. Most warping like this is fixable. It just takes patience, some moisture, and steady, even pressure. Here’s exactly how to flatten a badly warped dual-layer board without peeling the layers apart, cracking the print, or making things worse.
Why Dual-Layer Boards Warp So Easily
Dual-layer boards, the kind you see in a lot of modern tabletop games, are built from two glued cardboard layers with a recessed top piece. It looks great on the table and gives that nice “premium” feel, but there’s a catch: the two layers soak up and release heat and humidity at different speeds. Crank a car interior up past 150°F (65°C), which happens faster than most people think, and the glue underneath softens. The layers expand unevenly. As the board cools back down, it cups, twists, or ripples depending on how the heat and moisture hit it. Single-layer boards warp too, sure, but dual-layer ones have an extra failure mode: layer separation. That’s why you need to be more careful when flattening them.
Step 1: Assess the Damage Before Doing Anything
Before you touch a spray bottle or stack a single book, look closely at what you’re dealing with:
- Delamination – are the top and bottom layers peeling apart anywhere, even just at a corner?
- Cracking – is the printed surface flaking or cracking, especially along the fold lines?
- Shape of the warp – a simple cup (bowl-like curve), a twist (diagonal distortion), or rippling across the whole board?
A plain cup warp is honestly not a big deal and fixes fast. A twist or a full ripple takes longer and needs more careful, uneven-weight-avoiding attention. If you spot delamination, deal with that first (see the section below) before you try to flatten anything, otherwise you risk tearing the layers even further apart.
Step 2: Reintroduce Moisture Gradually
A few hours in a hot car dries out both the cardboard and the glue, leaving them stiff and brittle. Try to force a bone-dry board flat and you’ll likely crack it instead of fixing it.
- Lightly mist the back (the non-printed side) with a spray bottle, just enough to dampen it, not soak it through.
- Sandwich the board between two clean, slightly damp cotton towels or pillowcases (damp, not dripping).
- Let it rest for 20 to 30 minutes so the moisture has time to spread evenly through the cardboard.
Never dunk the board in water, and never spray the printed face directly. Ink and laminate can smear or bubble almost instantly if they get wet.
Step 3: Apply Even, Gradual Pressure
This is where the real fix happens:
- Set the board flat on a hard, level surface. A dining table works, carpet doesn’t.
- Lay a sheet of plain paper or parchment over the board to keep moisture and ink from transferring onto whatever you place on top.
- Stack flat, heavy objects evenly across the whole surface. Large hardcover books work, so does a flat cutting board loaded with weights, or a sheet of plywood with something heavy on top.
- Keep the weight spread out. One book sitting dead center, for instance, can press in a brand-new warp right where you don’t want one.
Leave it under that pressure for 24 to 48 hours, checking in roughly every 12 hours. If the warp is severe, you may need to repeat the misting-and-pressing routine two or three times before it fully settles.
Step 4: Use Controlled Heat (Optional, Advanced)
If pressure on its own isn’t quite finishing the job, a little controlled heat can loosen up the cardboard fibers enough to help:
- Use a hairdryer on low heat, held at least 12 inches away, and keep it moving constantly over the back of the board. No more than 30 to 60 seconds at a stretch.
- Go straight into the weighted pressing step right after, while the board still has some warmth left in it.
- Skip the oven, the iron, anything with direct high heat. That’s basically what caused this mess in the first place, and it’ll only make it worse.
Fixing Delamination First
If you’ve got layers peeling apart:
- Spread a thin, even coat of PVA glue (something like Elmer’s) or an archival glue stick between the layers using a thin spatula or an old credit card edge.
- Press the spot flat with wax paper and a weight on top for several hours before moving on to the full flattening process.
Preventing Future Warping
- Store boards flat, never standing on edge, somewhere with stable temperature and humidity.
- Don’t leave games in a car, especially in summer. Interior temps can climb past 160°F (71°C) in under an hour, sometimes faster if the car’s parked in direct sun.
- Toss a few silica gel packs into your game storage box to keep humidity from swinging too much.
- If you haul games around often, a hard-shell case is worth the money.
Conclusion
A badly warped dual-layer board fresh out of a hot car looks like a disaster, but it’s almost always fixable with moisture, time, and steady pressure, not muscle. Take it slow, protect the printed surface, fix any delamination before you flatten, and budget a few days rather than a few hours for the whole process. With a bit of patience, most boards come back close enough to flat that you’d never know they spent an afternoon cooking in a car.