DIY Foam Core Insert Guide for Ark Nova: Step-by-Step
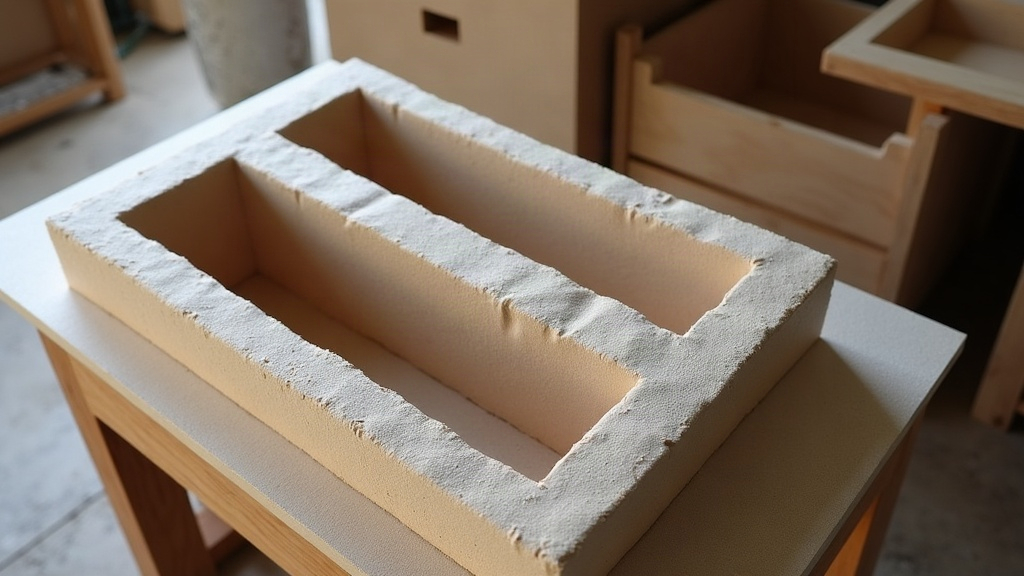
DIY Foam Core Insert for Ark Nova: A Step-by-Step Guide
Ark Nova is a big, dense game. Hundreds of cards, a pile of enclosure tiles, and more tiny tokens than you’d expect from a box that size. The gameplay gets rave reviews everywhere, sure, but setup and teardown can turn into a real slog if you’re still digging through the plastic baggies that came in the box. A custom insert fixes that. It speeds up your table time and keeps your components from getting crushed, bent, or lost under the couch. This guide walks through the whole build: planning, measuring, cutting, assembling, and finishing an insert sized to your box, sleeves included, with room to spare for future expansions.
Materials You Will Need
Gather your tools before you start cutting anything. The difference between a clean, professional-looking insert and a wobbly mess usually comes down to tool quality, not skill.
- 5mm Foam Core Board: Go black if you can find it. It looks sharp, disappears visually against the box interior, and hides dried glue smudges far better than white board does.
- Self-Healing Cutting Mat: Saves your table, keeps your blade edge from dulling too fast.
- Metal Ruler or T-Square: Non-negotiable for straight cuts. A plastic ruler will get chewed up by the blade within minutes.
- Hobby Knife (X-Acto) or Utility Knife: Buy extra blades, more than you think you’ll need. A dull blade drags and tears the foam instead of slicing it, and torn edges are hard to fix.
- PVA Glue (White Craft Glue): Dries clear, gives you a minute or two to reposition pieces before it sets, and bonds hard to the paper layer on the foam.
- Dressmaker Pins: Hold pieces square while the glue cures overnight. Cheap and reusable.
Planning the Ark Nova Layout
The box itself is a standard square footprint, but what goes inside needs careful division. Three main categories to work through:
- Cards: Over 200 Zoo cards alone, plus Action cards and scoring cards on top of that. Sleeve your cards? Then measure with sleeves on, not off. Skipping this step is the single most common insert-building mistake.
- Tokens and Tiles: Money, venom tokens, constriction tokens, standard enclosures, unique buildings. Each needs its own spot, and ideally one you can reach without digging.
- Player Boards and Maps: The oversized Zoo map boards and the central tracker board should rest flat across the top of your trays, functioning as a lid.
Accommodating the Marine Worlds Expansion
Own Marine Worlds, or planning to grab it? Build that into your layout from day one instead of retrofitting later. The expansion brings new zoo cards, alternate action cards, and wooden university tokens. Give your card trays extra depth for the bigger deck, and leave one modular slot open and empty for the new tokens rather than cramming them in wherever they fit.
Step-by-Step Construction Guide
Step 1: Measuring the Base and Outer Walls
Measure the box’s interior dimensions exactly, then shave off 2 to 3mm from both length and width. That small gap is what lets the insert slide in and out without snagging on the cardboard lip. Cut your base plate first, then build the outer frame from four wall pieces. Leave roughly 6mm of clearance up top, enough for the rulebook, central board, and player boards to sit flush without pushing the lid up.
Step 2: Building the Card Trays
The Zoo card deck is really the engine of this game, so get this part right.
- Build two separate card “shoes,” one for each end of the table, so players on both sides have easy access during play.
- Measure sleeved cards directly and add 2mm on each side for smooth in-and-out movement. Too tight and you’ll be fighting the tray every turn.
- Angle the back wall, or cut a thumb notch into the front, so pulling a card doesn’t mean pinching at an awkward angle.
- A smaller tray, separate from the main deck, for Action cards, Final Scoring cards, and Base Conservation projects.
Step 3: Constructing Token and Tile Trays
Ark Nova’s tiles come in odd shapes, from single-hex kiosks up to sprawling unique buildings, so plan compartments accordingly.
- Money and Multipliers: A long, shallow tray split into sections for 1, 5, and 10-value coins works well. Make it fully removable, this one gets passed hand to hand constantly during play.
- Enclosures: A deeper tray with distinct compartments sized for the 1, 2, 3, 4, and 5-size enclosure pieces.
- Unique Buildings: Give these their own grid tray. A small trick that helps a lot: angle a piece of cardstock inside as a false bottom, so you can scoop pieces out with two fingers instead of pinching at the tray floor.
Step 4: Player Component Boxes
Up to four players, each with their own set of wooden counters and workers. Build four small rectangular boxes, one per player color. Come setup time, you just hand each person their box. That alone cuts a good chunk of the usual setup fuss.
Step 5: Final Assembly and Curing
While gluing walls and internal dividers, push dressmaker pins through the outer wall into the neighboring foam edge. This holds everything square and tight while it sets. Test-fit the finished trays in the actual game box before the glue fully cures, just to catch any tight spots. Then let it sit overnight. Don’t rush this part, pulling pins too early can shift a joint out of true.
Pro Tips for a Perfect Insert
- Cut in multiple passes: Don’t try to power through 5mm foam core in one stroke. Score the top paper lightly first, glide through the foam center, then finish with a clean cut through the bottom paper layer.
- Account for foam thickness: Every wall and divider eats up 5mm of space. Forget to subtract that from your internal measurements and you’ll end up with trays that bow or don’t sit flat.
- Vertical Storage: Build your walls flush with where the stacked player boards land, and those boards double as a lid. Do this right and you can stand the whole box up on a shelf, nothing shifts or spills.
Conclusion
A custom insert is one of those tabletop projects that pays off every single time you play. Follow this guide and that chaotic box of loose baggies becomes an organized, ready-to-go setup you actually enjoy pulling off the shelf. Your components stay protected for years, and setup shrinks down to minutes instead of the usual sorting marathon, which means more time actually running your zoo.